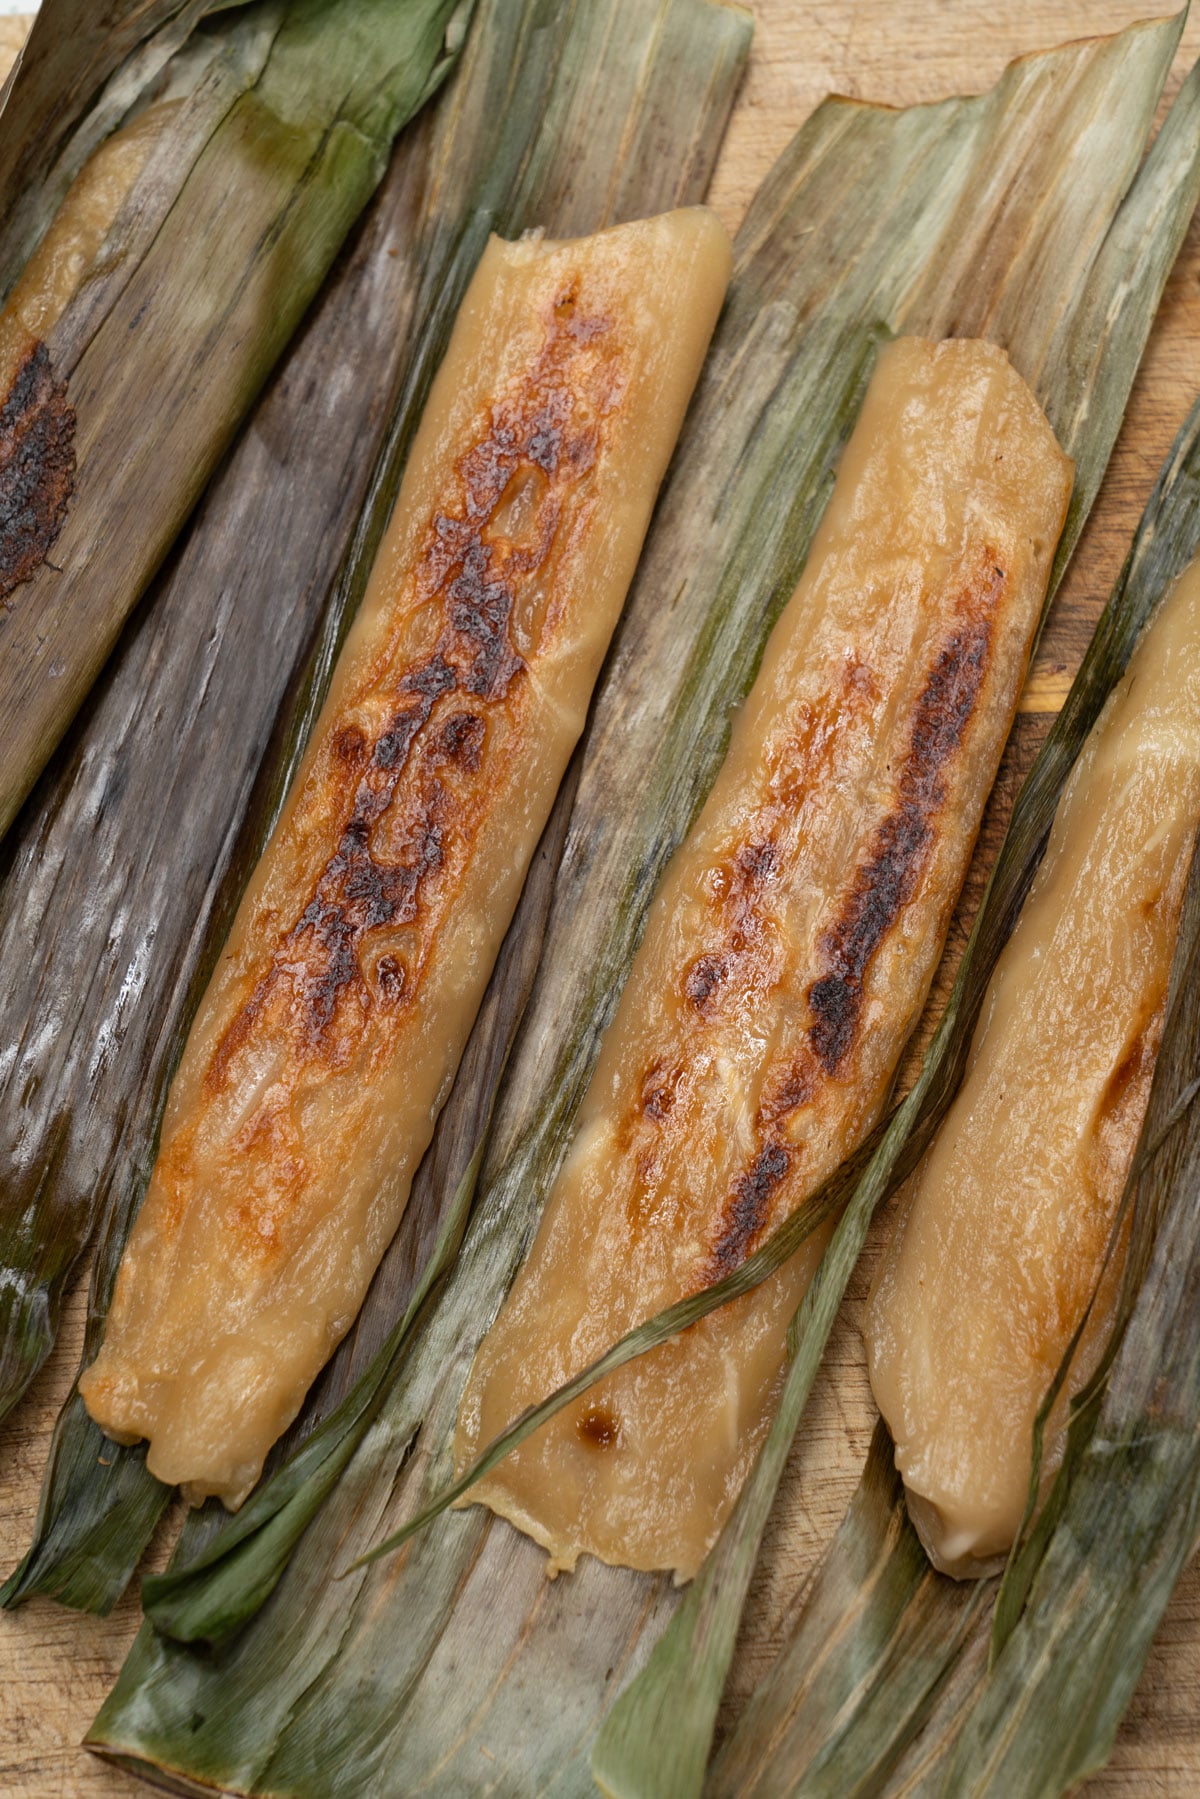
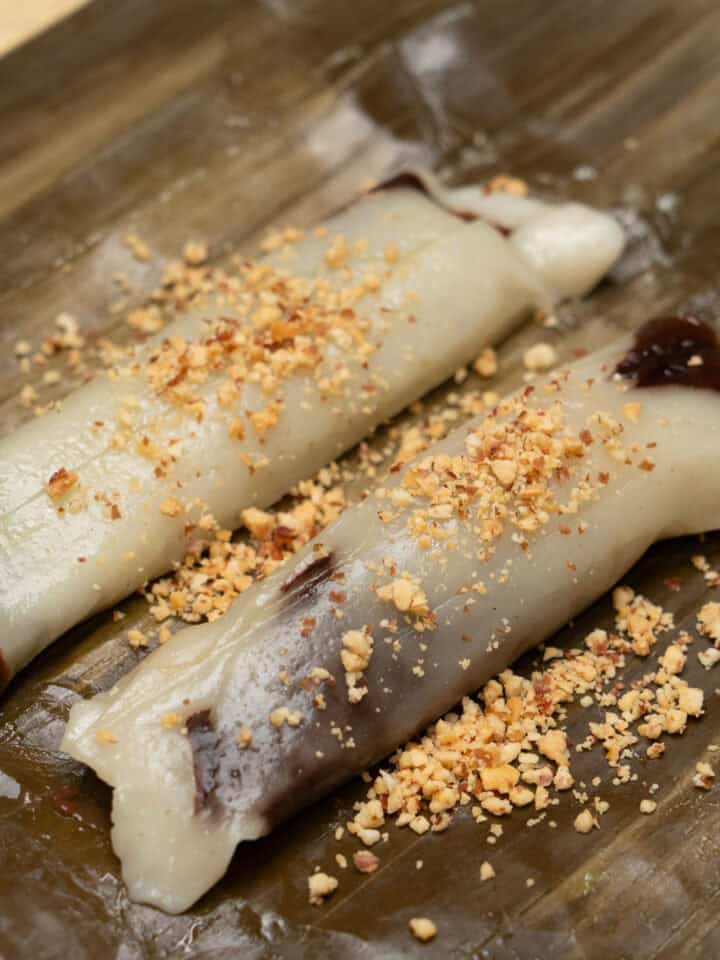
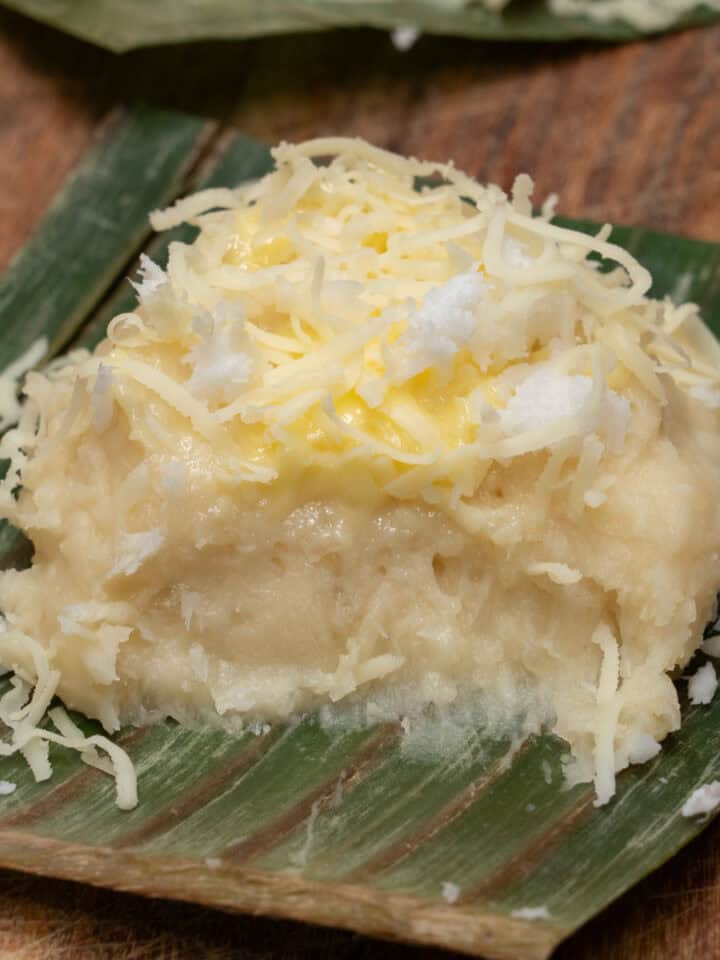
Tupig is a Filipino rice cake wrapped in banana leaves and grilled. It is soft and slightly chewy, with lightly charred spots.
This popular kakanin in Northern Luzon and is often sold warm, straight off the grill. It's also easier to make than it looks.
Just mix, wrap, and grill until lightly charred. No special equipment needed - just a pan or grill and banana leaves.
Jump to:
Ingredients You'll Need
Notes and Substitutions
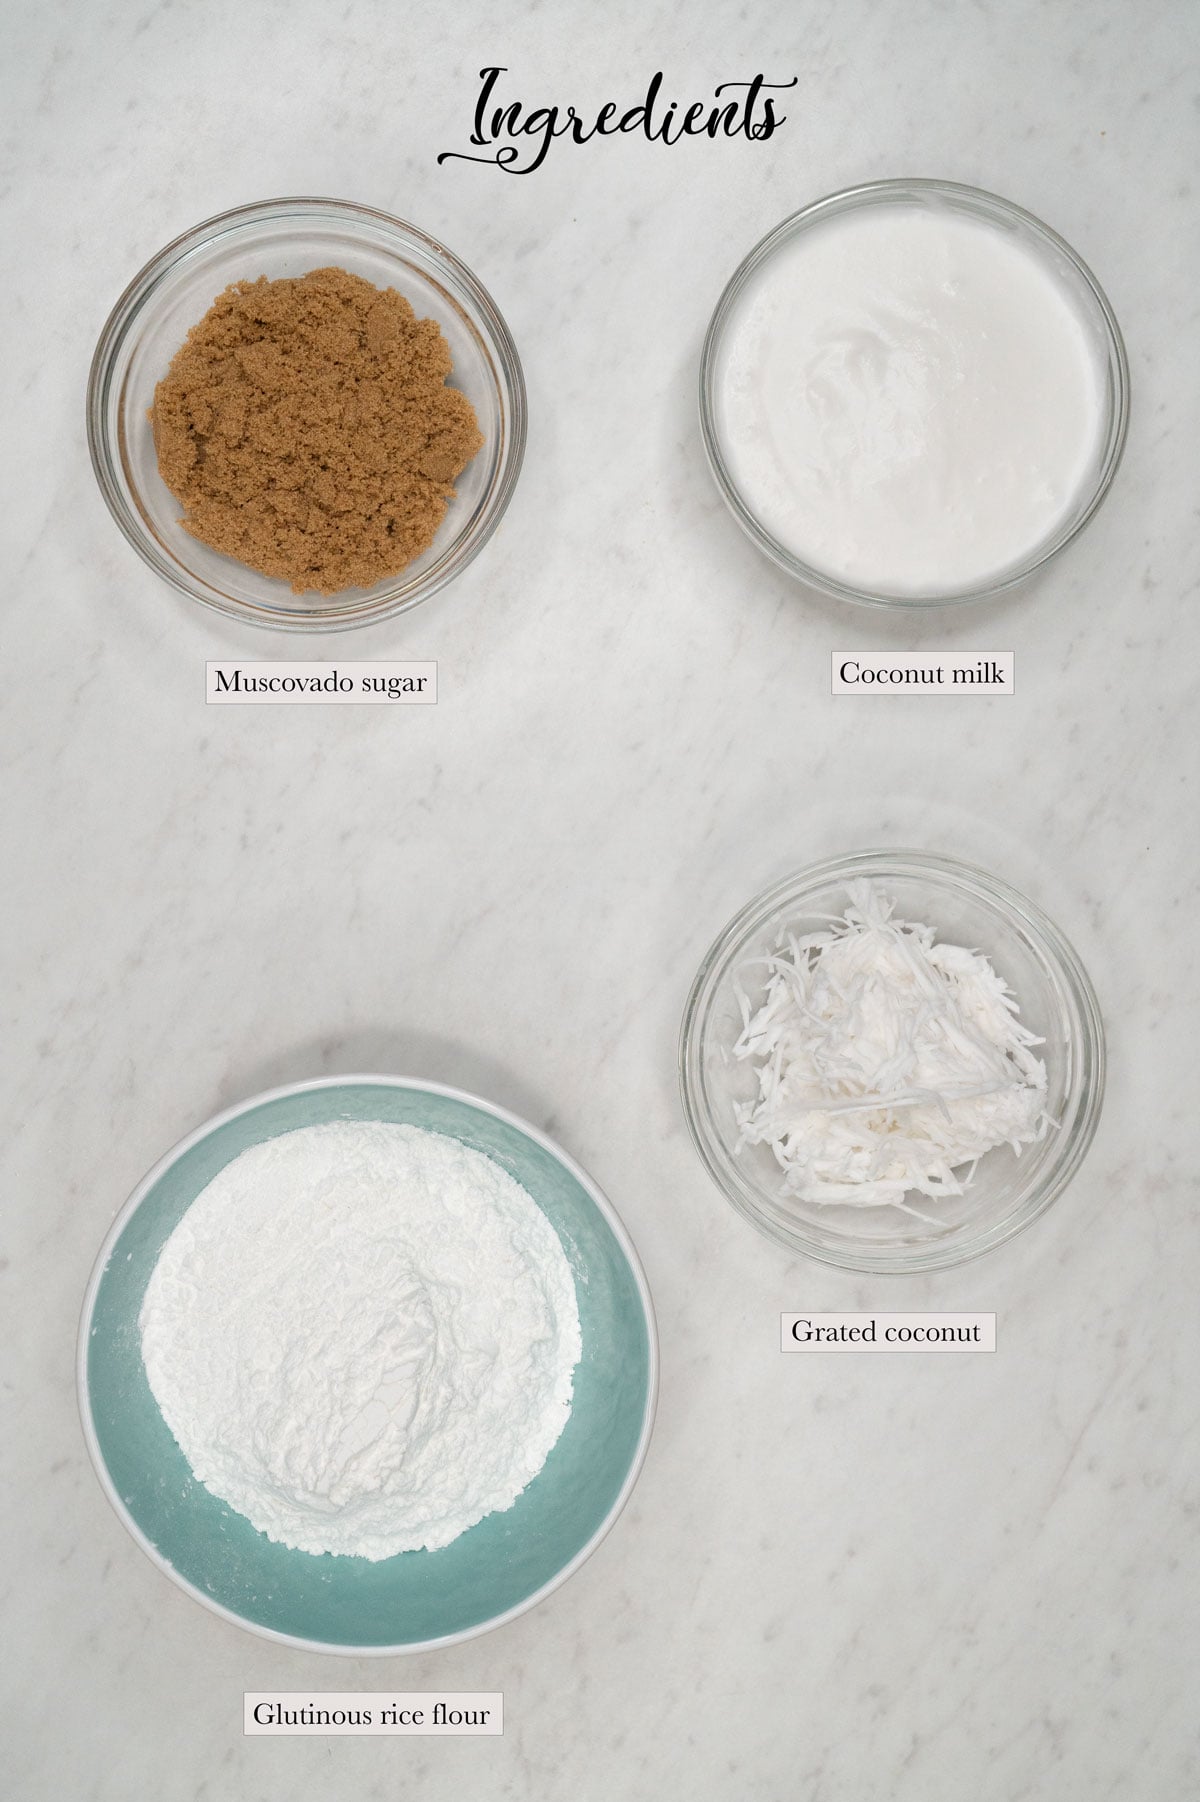
- Glutinous rice flour: Also called sweet rice flour. This gives tupig its chewy texture, so regular rice flour is not a good substitute.
- Coconut: I used frozen grated coconut. You can also use buko (young coconut).
- Sugar: I used light muscovado sugar, but you can also use brown sugar or coconut sugar. I wouldn't use white sugar here, since darker sugar gives tupig more flavor.
How to Make Tupig (Step-by-Step)
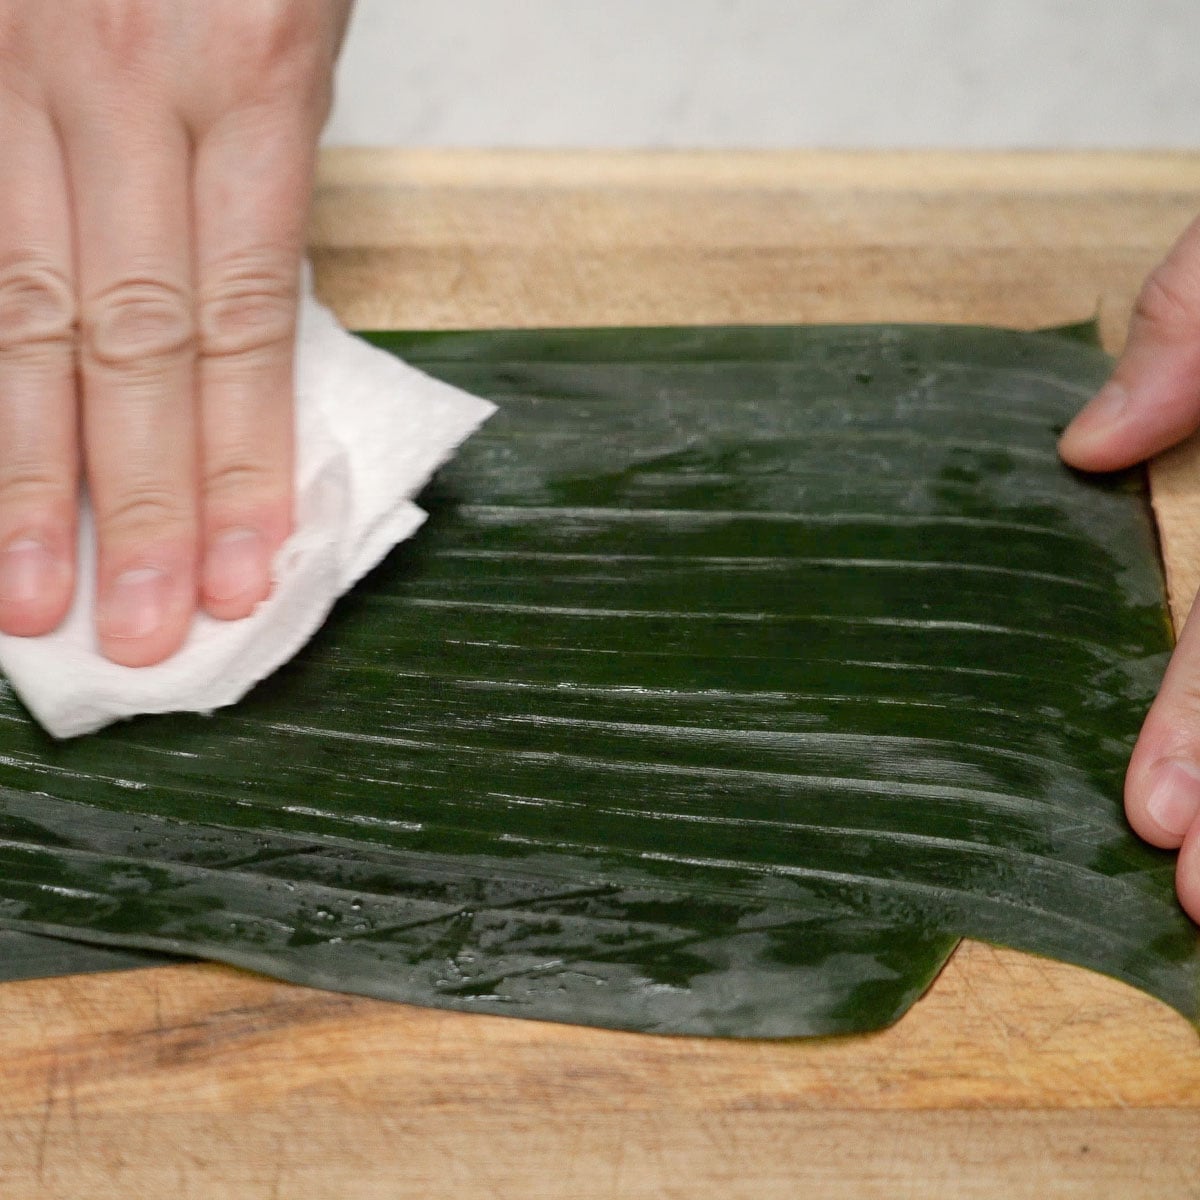
Step 1: Prep the banana leaves
Wipe the banana leaves clean, then cut into 4 x 8-inch rectangles. Pass them quickly over a flame until soft and flexible.
You can adjust the size depending on your pan or grill. Just leave enough space around the edges so the mixture doesn't spill.
Step 2: Make the mixture
In a bowl, combine:
- 2 cups glutinous rice flour
- ⅔ cup muscovado sugar
- 1 cup coconut milk (plus more as needed)
- ½ cup grated coconut
- a pinch of salt
Mix until smooth.
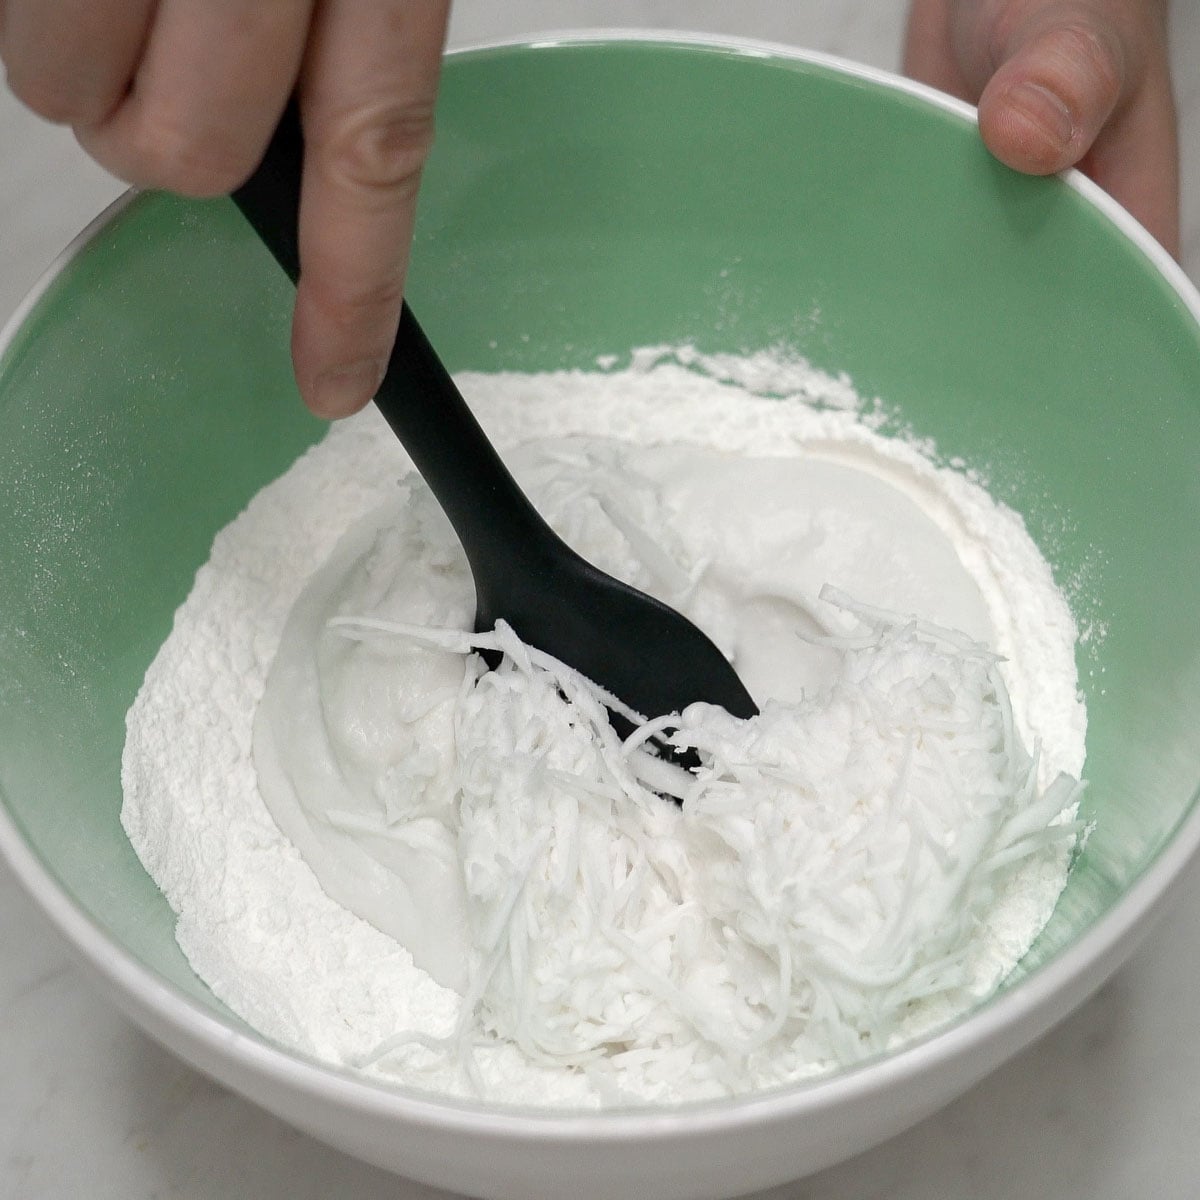
You can add more coconut milk until the mixture is thick but easy to scoop. I added about ½ cup more.

Step 3: Fill and wrap
Spoon about 2 tablespoons of the mixture onto the lower center of each banana leaf.
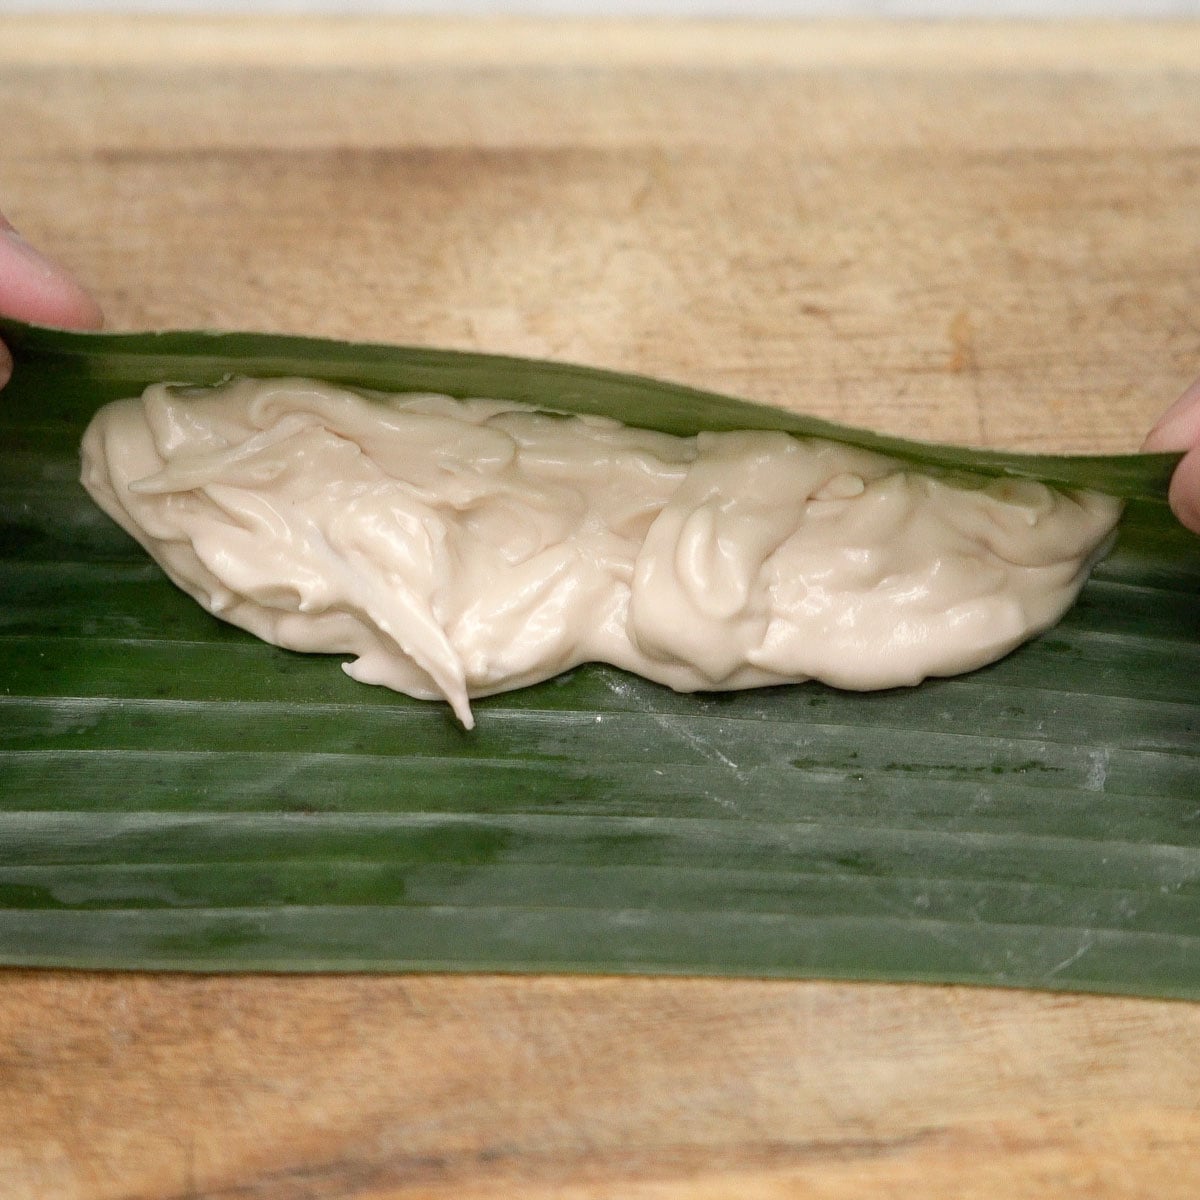
Shape it into a short log, but leave a little space on both sides so it doesn't ooze out as it cooks.
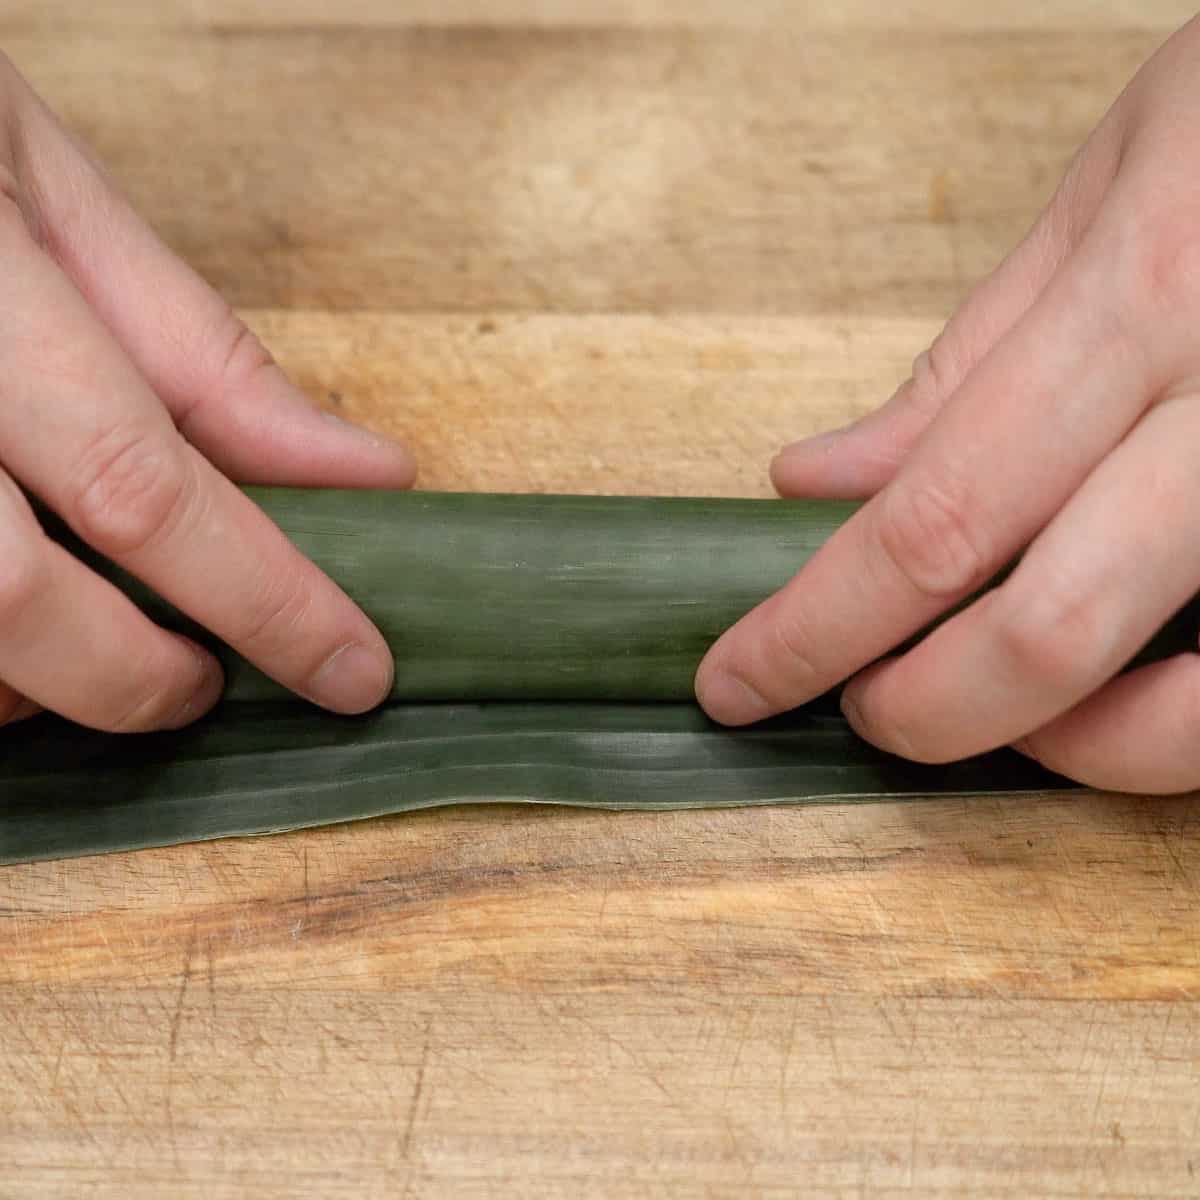
Fold the leaf over to cover the filling.
Step 4: Cook the tupig
Place the wrapped tupig seam-side down on a grill or dry pan over medium heat.
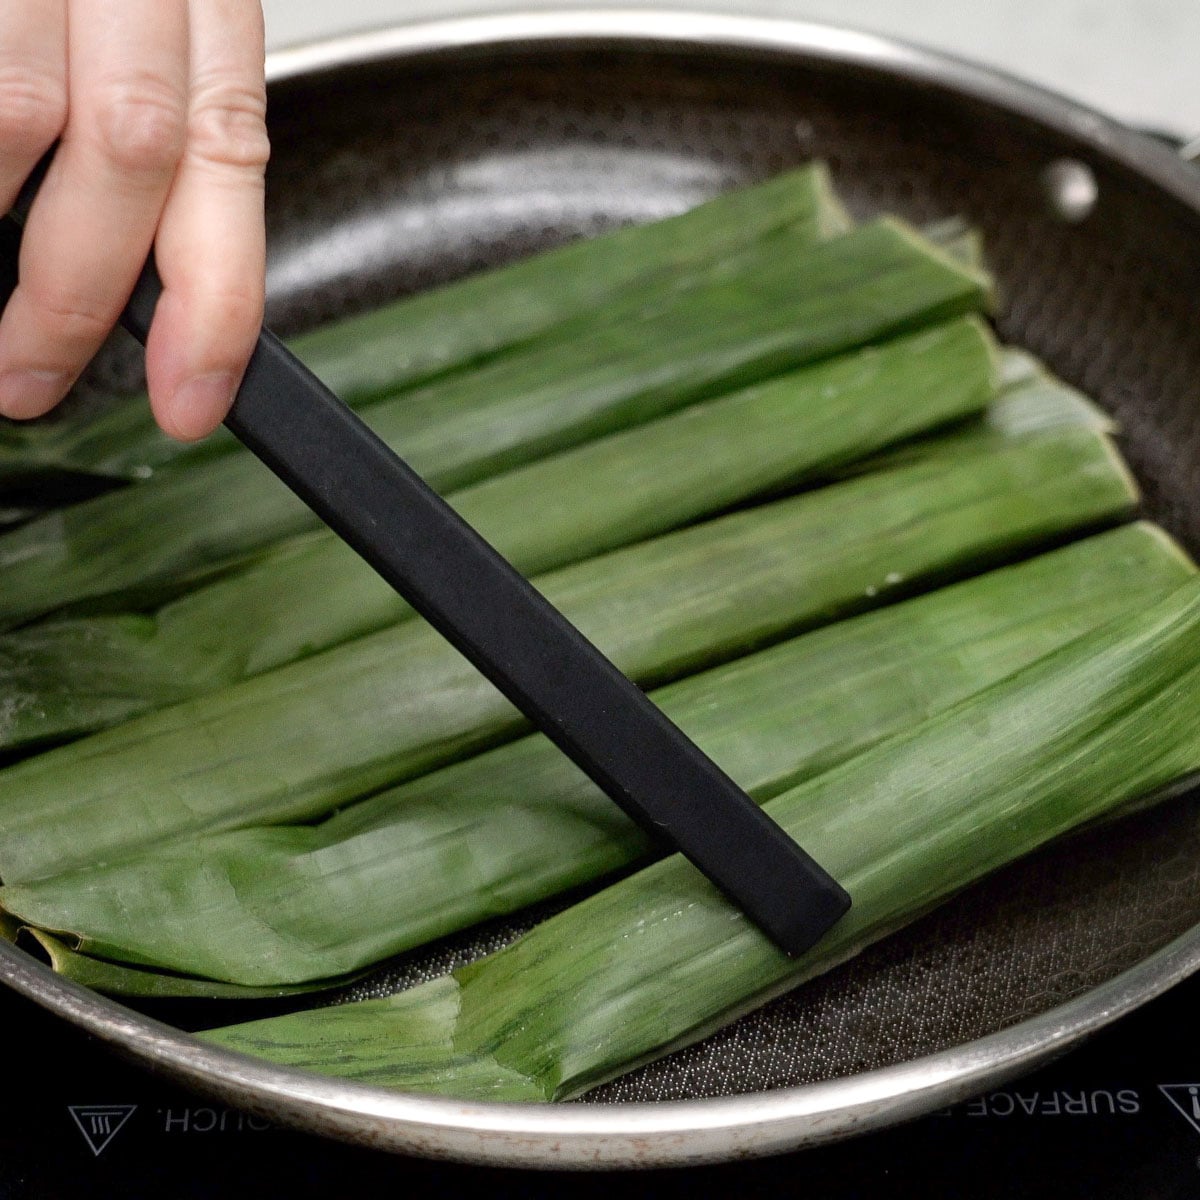
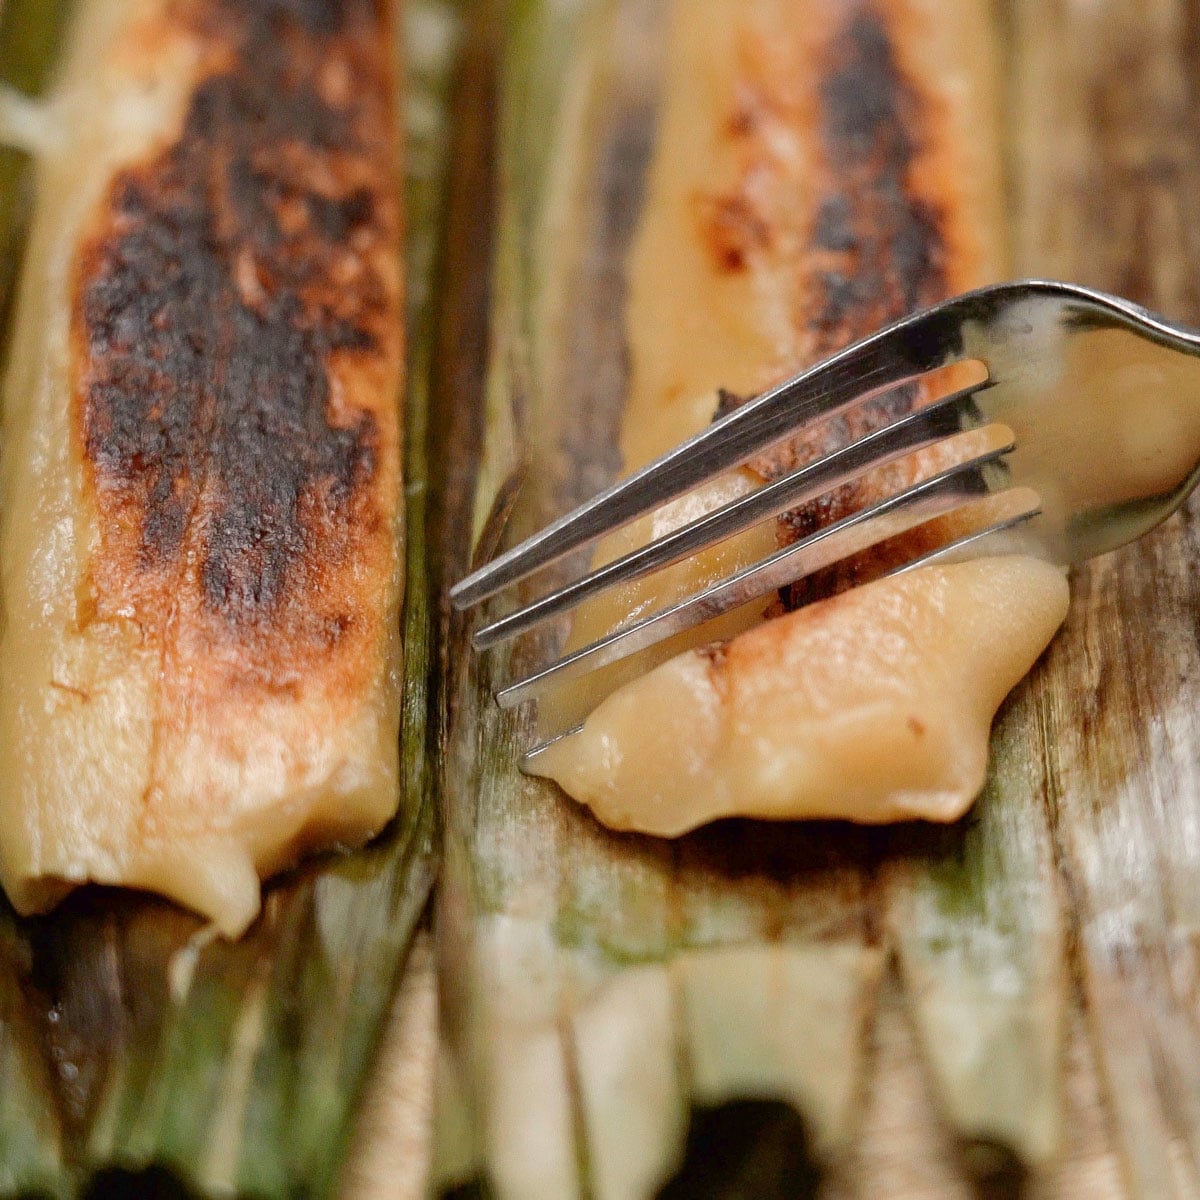
Cook for about 6-8 minutes on each side, until the filling firms up.
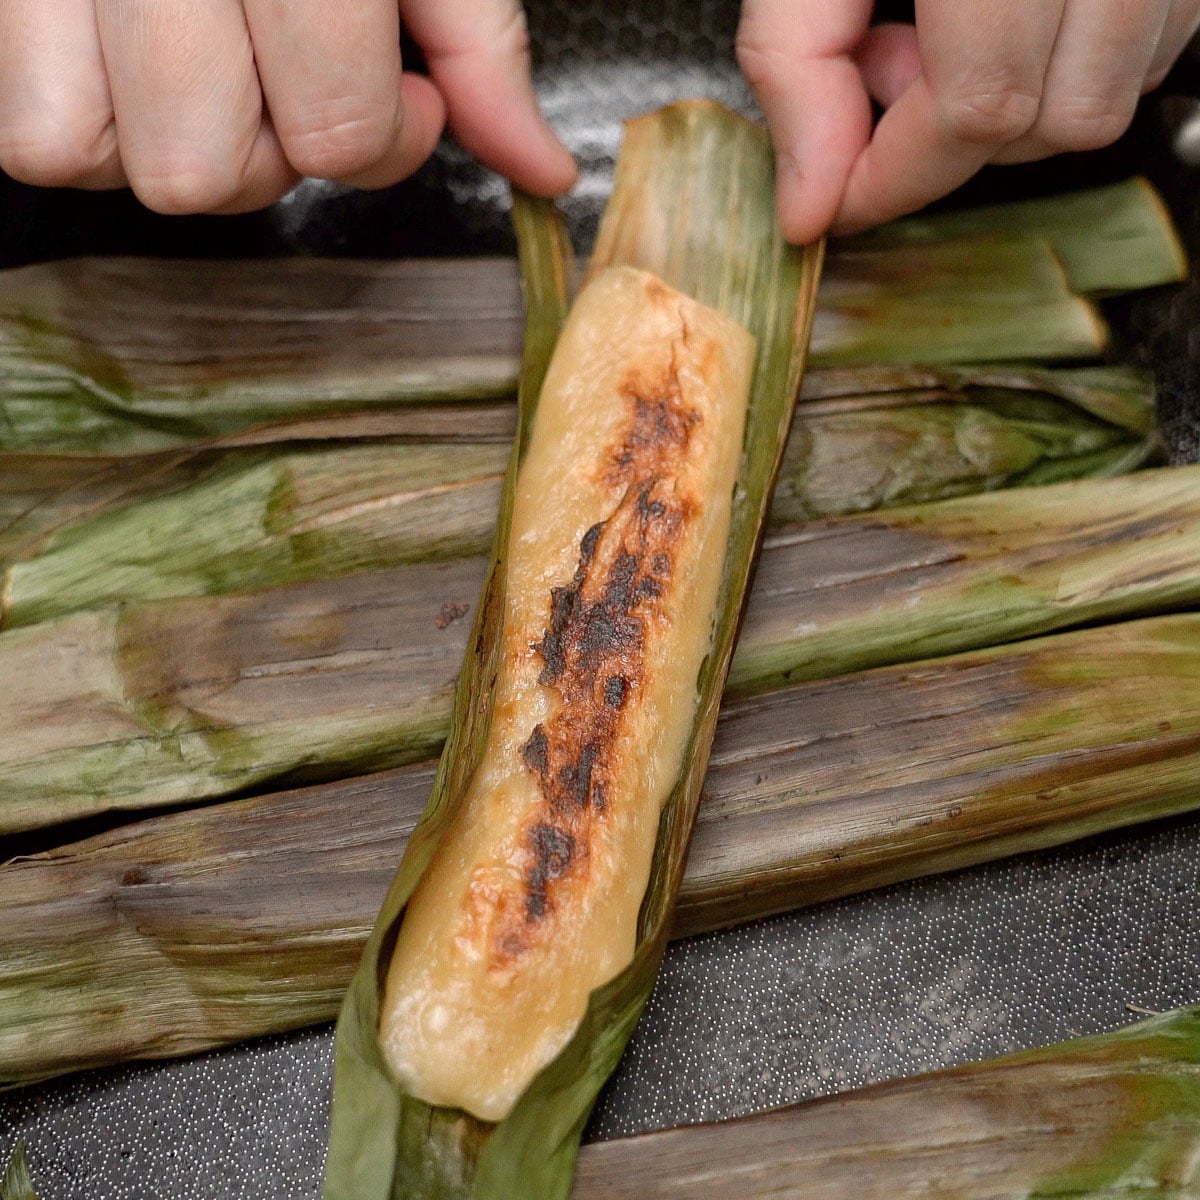
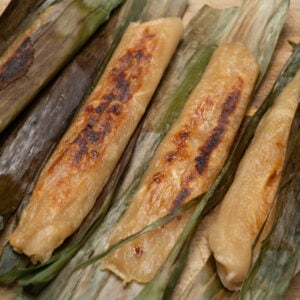
The banana leaves will look lightly toasted with some charred spots and smell slightly smoky.
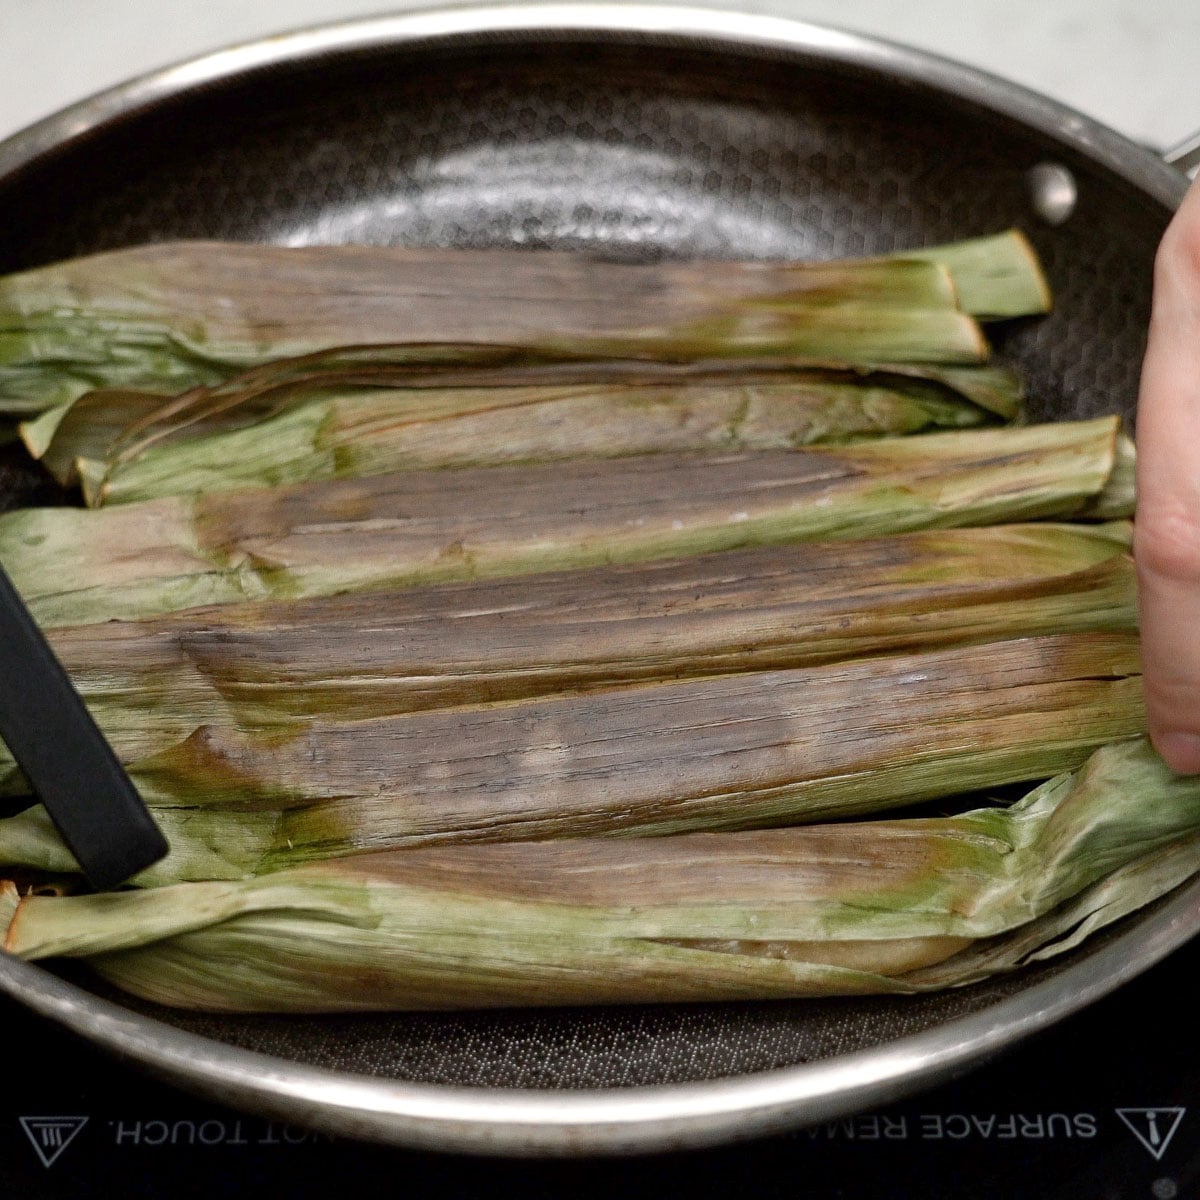
It's done when it feels firm and peels easily from the banana leaf.
Step 5: Serve
Let the tupig cool for a few minutes, then enjoy it warm while it's soft and chewy.
Cooking Tips
- Don't overfill. Too much and it will ooze out while cooking.
- Keep it thin. Shape into a short log and don't make it too thick, so it cooks through evenly.
- Start seam-side down. This helps keep it closed while it cooks.
- Use medium heat. Too hot and the leaves burn before the inside cooks.
- Adjust as needed. If the mixture feels too thick, add a little coconut milk. If too loose, add more glutinous rice flour.
How to Store and Reheat
Because it has grated coconut, tupig is best eaten the same day and should not be left out too long.
- In the fridge: Store in an airtight container for up to 3 days.
- To freeze: Wrap well and freeze for up to 1 month.
- To reheat: Reheat in a pan over medium heat or in the microwave until warmed through.
Recipe FAQs
Yes, you can cook the tupig over medium heat in a non-stick pan. Flip occasionally, until lightly browned.
The dough may need more coconut milk. It should be sticky but not too wet.
Yes. Wrap tightly and refrigerate for up to 3 days. Reheat by grilling, baking, or lightly pan-frying.
Yes. Freeze after wrapping, then cook from frozen - just add a few extra minutes to the cooking time.
Yes! Try adding sweetened mung bean paste, cheese, or ube halaya in the center before wrapping.
Yes. Bake tupig at 375°F for about 20 minutes, or until firm. It won't have the same smoky flavor as grilled tupig, but it still works.
More Kakanin to Try
- Suman: Sticky rice cakes wrapped in leaves.
- Kutsinta: Chewy steamed rice cakes with a sticky texture.
- Puto: Soft, lightly sweet steamed rice cakes.
- Palitaw: Chewy rice cakes coated with coconut and sugar.
- Pichi-pichi: Soft, chewy cassava cakes coated in coconut.
- Nilupak: Mashed cassava with butter and coconut.
Merienda Recipes You May Like


Did you make this recipe? I would love to know! Your feedback helps me make better recipes. Please rate, review, or comment below. Questions about this recipe are welcome, too!
Let's connect on Facebook, Instagram, Pinterest, TikTok, Twitter, and Youtube. Be sure to tag me when you try any of my recipes @recipesbynora!
📖 Recipe
Tupig Recipe (Grilled Sticky Rice Cake)
Equipment
- Grill or wide pan
- Tongs
Ingredients
- 2 cups glutinous rice flour
- 1 cup coconut milk more as needed
- ⅔ cup grated coconut
- ½ cup sugar
- A pinch of salt
- Banana leaves for wrapping
Instructions
- Wipe banana leaves clean and cut into 4 x 8-inch rectangles. Pass over a flame until soft and flexible.
- In a bowl, mix glutinous rice flour, sugar, coconut milk, grated coconut, and a pinch of salt until smooth. Add more coconut milk as needed until thick but easy to scoop.
- Spoon about 2 tablespoons of the mixture onto the lower center of each banana leaf. Shape into a short log, leaving a little space on both sides, then fold the leaf over to cover.
- Place seam-side down on a grill or dry pan over medium heat. Cook for about 6-8 minutes per side, until the filling firms up and the banana leaves are lightly toasted with charred spots.Oven option: Bake at 375°F for about 20 minutes, or until firm.
- Let cool for a few minutes before opening. Best enjoyed warm.
Notes
- Glutinous rice flour: Also called sweet rice flour. Regular rice flour is not a good substitute.
- Coconut: I used frozen grated coconut. You can also use buko (young coconut).
- Sugar: I used light muscovado sugar, but brown sugar or coconut sugar work too. Darker sugar gives better flavor than white sugar.
- Don't overfill, or the mixture can ooze out.
- Keep the filling thin so it cooks through evenly.
- Start seam-side down to help keep it closed.
- Use medium heat so the leaves don't burn too quickly.
- If needed, add a little more coconut milk or glutinous rice flour to adjust the mixture.
- Fridge: Store in an airtight container for up to 3 days.
- Freezer: Wrap well and freeze for up to 1 month.
- Reheat: Warm in a pan or microwave until heated through.
Vangie says
I lime how easy this looks so yummy
Nora Reyes says
Thanks, Vangie! and yes it was very easy to make..probably one of the easiest kakanin i've made.